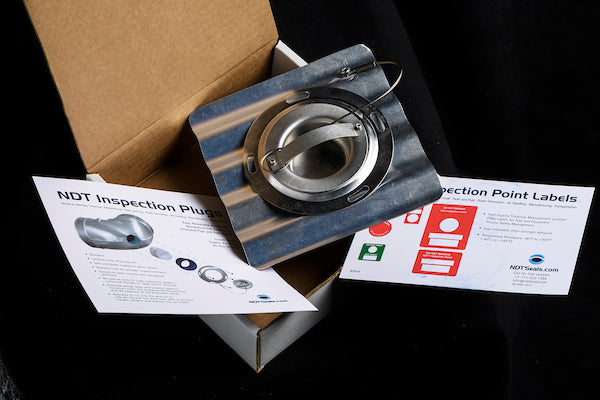
In industries where safety and structural integrity are paramount, such as oil and gas, aerospace, and maritime sectors, ultrasonic thickness (UT) measurements play a crucial role in assessing the health of materials. Whether it's for routine inspections or Fitness for Service (FFS) evaluations, the accuracy of UT thickness measurements is often a top concern. Understanding the factors that influence accuracy and employing strategies to mitigate variability are essential for reliable assessments. In this article, we delve into the intricacies of UT thickness measurements, focusing on the variables affecting accuracy and the significance of precise measurement location labeling.
The Quest for Accuracy: Understanding Variables
UT thickness measurements are subject to various factors that can impact their accuracy. Here are some key variables to consider:
- Material Properties: Different materials exhibit varying acoustic properties, affecting the transmission and reception of ultrasonic waves. Factors such as density, grain structure, and temperature can influence the velocity of sound, impacting measurement accuracy.
- Surface Condition: Surface roughness, coatings, corrosion, and scale can interfere with the propagation of ultrasonic waves, leading to erroneous thickness readings. Proper surface preparation is crucial to ensure reliable measurements.
- Coupling Medium: The medium used to transmit ultrasonic waves (e.g., water, gel, or oil) must provide efficient coupling between the transducer and the material being tested. Inadequate coupling can lead to signal loss and inaccurate readings.
- Transducer Calibration and Angle: The calibration of the ultrasonic transducer and its angle of incidence affect the accuracy of measurements. Improper calibration or angle selection can introduce errors in thickness readings.
- Thickness Measurement Location: The selection of measurement locations is critical for obtaining representative data. Variability in measurement locations can lead to inconsistencies in thickness readings, impacting the reliability of FFS evaluations.
- Technician Knowledge, Training & Experience: The proficiency of technicians conducting UT thickness measurements directly influences the accuracy of the results. Technicians must possess a deep understanding of ultrasonic principles, equipment operation, and inspection procedures. Comprehensive training programs ensure that technicians are equipped with the necessary theoretical knowledge and practical skills to perform reliable measurements. Hands-on experience plays a vital role in refining technician proficiency and enhancing measurement accuracy. Giving technicians clear and consistent measurement locations allows for operator variability to be lessened.
Importance of Precise Measurement Location Labeling
Achieving accuracy in UT thickness measurements requires not only addressing the aforementioned variables but also ensuring consistency in measurement locations. Utilizing high-quality and low-leachable thickness measurement location labels is instrumental in this regard. Here's how:
- Eliminating Variability: Standardized, clearly labeled measurement locations minimize variability in thickness readings across inspections and over time. This consistency enables more accurate trend analysis and early detection of structural degradation.
- Enhancing Data Integrity: Accurate measurement location labeling facilitates proper documentation and traceability of thickness data. In FFS evaluations, where historical data comparison is crucial, precise labeling ensures the integrity and reliability of assessment results.
- Streamlining Inspection Processes: Well-defined measurement locations streamline inspection procedures, reducing the likelihood of human error and ensuring comprehensive coverage of critical areas. This efficiency is particularly valuable in industries with extensive asset portfolios and stringent regulatory requirements.
- Facilitating Risk-Based Assessments: Reliable thickness data, coupled with precise measurement location labeling, enables engineers to conduct informed risk assessments and prioritize maintenance or repair activities based on the actual condition of assets. This proactive approach enhances safety and cost-effectiveness in asset management.
When assessing structural integrity of an asset, the accuracy of UT thickness measurements is paramount. Understanding the variables that influence measurement accuracy and implementing strategies to mitigate variability are essential for reliable assessments, particularly in FFS evaluations. By utilizing high-quality and low-leachable thickness measurement location labels, organizations can enhance the accuracy, consistency, and integrity of UT thickness data, ultimately ensuring the safety and reliability of critical assets.


